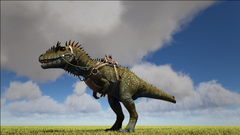
カルカロドントサウルス
cheat summon Carcha_Character_BP_Cor
cheat SpawnDino "Blueprint'/Game/PrimalEarth/Dinos/Carcharodontosaurus/Carcha_Character_BP.Carcha_Character_BP'" 500 0 0 35
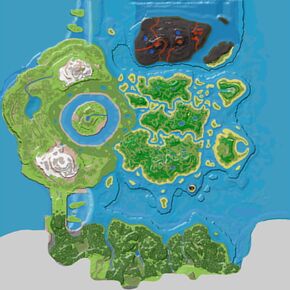
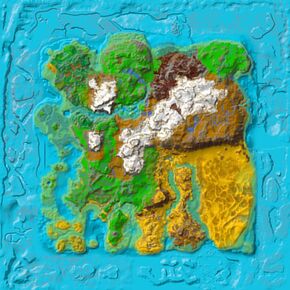
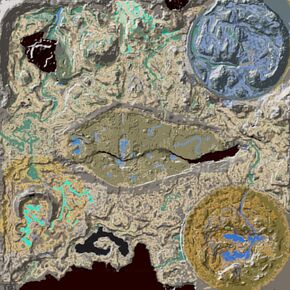
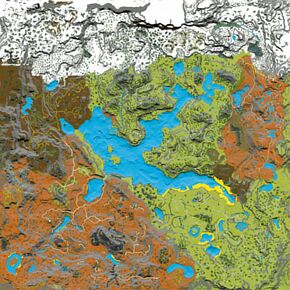
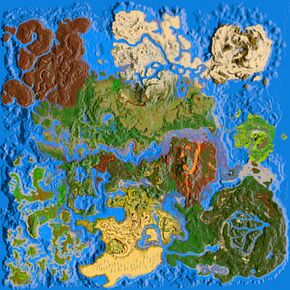
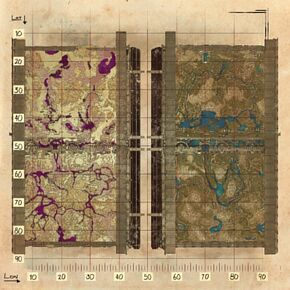
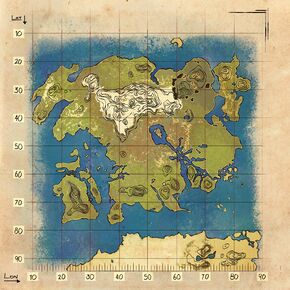
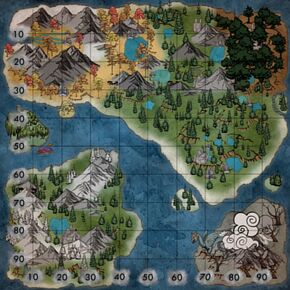
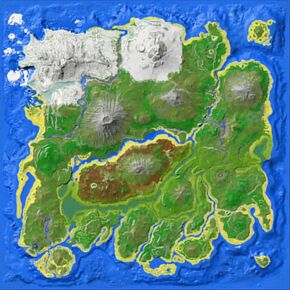
テイム不可 洞窟
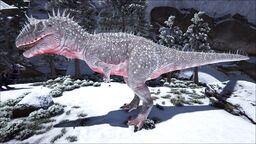
カルカロドントサウルス(Carcharodontosaurus)は、ARK: Survival Evolvedの大型肉食恐竜です。血の渇きで暴れることを得意とする肉食獣。
調査書
このセクションは、サバイバーであるヘレナ・ウォーカーが書いた調査書を、正確にコピーすることを目的としています。この文章とゲーム内の生物との間には若干の食い違いがあるかもしれません。
Carcharodontosaurus medicupestis
生息年代白亜紀後期
食性肉食
気性攻撃的
- 野生
カルカロドントサウルスに遭遇して生き延びることができたのは幸運だったと思います。ギガノトサウルスより大きくなるのかは不明ですが、確かめたいとは思いません。たった1体で大勢いた私たちを相手にし、こちらの被害は甚大なものでした。
カルカロドントサウルスは尻尾で敵をなぎ払うこともありますが、より警戒すべきなのはその反対側にあるものです。ほとんどの獲物を噛み砕く顎に、ステーキナイフのような歯が並んでいます。ニアミスしただけでもズタズタに切り裂かれてしまうでしょう。
名前の由来であるホホジロザメと同様、カルカロドントサウルスは血を味わうとより狂暴になります。敵を仕留めるたびに快感を覚え、我を失った狂戦士と化すかのようです。
- 飼い方
テイムしたカルカロドントサウルスは、トライブを集めて戦いへ向かうのにうってつけです。この怪物の咆哮には聞く者を戦闘に駆り立てる何かがあり、さながら地獄の軍団の鬨の声といったところです。
より戦略的なトライブであれば、カルカロドントサウルスに敵の中型生物をまず襲わせ、興奮状態にしたうえで一番の強敵にけしかけるでしょう。まさに衝撃と畏怖です!
行動
カルカロドントサウルスは、野生の生物とサバイバーを発見すると襲ってきます。
外観
配色と領域
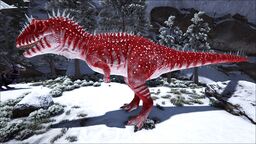
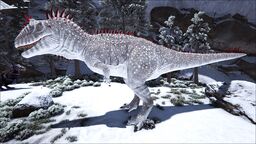
このセクションでは、カルカロドントサウルスの自然な色と領域が表示されます。デモンストレーションのために、以下の領域はアルビノのカルカロドントサウルスの上に赤色で着色されています。各領域の説明の下に表示される色付きの四角形は、自然な配色の全体的な範囲を提供するためにカルカロドントサウルスがランダムにスポーンする色です。色の上にカーソルを置くと、その色の名前とIDが表示されます。
この情報を使用して、チートコンソールにcheat SetTargetDinoColor <ColorRegion> <ColorID>と入力することにより、カルカロドントサウルスの領域を変更できます。たとえば、cheat SetTargetDinoColor 1 6はカルカロドントサウルスの""がmagenta色になります。

Region 1 is not used
for this Creature.
ドロップ
基本ステータスと成長
| 能力値 | 基準値 | レベルアップ | テイムボーナス | ||
|---|---|---|---|---|---|
| 野性生物 | テイム生物 | 追加 | 増加 | ||
| 70000 | +56 | +0.08% | -54000 | ||
| 480 | +2.88 | +2.5% | |||
| 150 | +0.375 | +2.5% | |||
| 4000 | +10 | +2.5% | |||
| 650 | +13 | +1% | |||
| 528 | +26.4 | +0.85% | -80% | ||
| 100% | N/A | +0.31% | |||
| 6000 | +360 | N/A | |||
| 移動 [u/s] |
基本速度 | スプリント速度 | スタミナ | ||||
|---|---|---|---|---|---|---|---|
| 野生 | テイム1 | テイム2 | 野生 | テイム1 | テイム2 | ||
| 歩行 | 1120 | 1120 | 1120 | 2241.1 | 2241.1 | 2241.1 | 29 |
- すべての生物のステータスの比較については、生物の基本ステータスを参照。
- レベルアップの計算が具体的にどのように行われるのかについては、生物の基本ステータスを参照。
- 1これらは100%の移動速度での生物の基本速度です。
- 2これらは生物をテイムし、刷り込みしない場合の速度です。
- すべての生物の速度の比較については生物の基本速度を参照。
野生生物のステータスのレベルアップ計算機
野生生物の値を入力すると、どのステータスが目立っているかがわかります。高レベルの生物の値が緑色であれば、繁殖には非常に適しています。すでに生物をテイムしている場合は、外部ツールを使って繁殖用のステータスを取り戻すことができます。[1]
stat-calculatorはモバイルビューでは機能しません。代替方法についてはこちらをご覧ください: Apps
生物がテイムされた後は、テイム効果に応じていくつかのステータスにボーナスを得ることに注意してください。このため、テイムされた生物のレベルを取得することは困難です。したがって、このツールは野生生物のみを対象としていますが、ステータスがどのように配分されているかという第一印象を与えることができます。
クローン化
カルカロドントサウルスは![]() クローン装置を使ってクローンすることができます。
クローン装置を使ってクローンすることができます。
| 基本コスト値 | |
|---|---|
| 2475 + 55/レベル毎 | |
| 時間 | 17325 + 385/レベル毎 |
Abilities
Active
| Bite |
|
|---|
| Roar |
|
|---|
| Tail Whip |
|
|---|
Passive
Killing Frenzy:
On landing a fatal blow, the Carcha gains the Killing Frenzy buff for 10 seconds; which boosts movement speed and makes the Carcha immune to stuns for the duration. Every kill the Carcha lands refreshes Killing Frenzy's timer, but does not extend it.
Bloodrage:
Gained alongside Killing Frenzy by landing fatal blows, Bloodrage similarly provides two buffs; boosting the Carcha's healing rate and melee damage. Unlike Killing Frenzy, Bloodrage is not locked to a timer and grows progressively stronger and longer-lasting; stacking on itself up to 100 times. Bloodrage degrades slowly at first, but if the Carcha goes so long without a kill, it begins to degrade faster until either 0 stacks are reached or the effect is refreshed by a new kill. Some stronger enemies such as Gigas and Rock Elementals are worth more stacks of Bloodrage per kill than other enemies.
Incited:
On roaring, any and all stacks of Bloodrage are consumed to provide the Incited buff to all nearby allies, but not the Carcha itself (other allied Carchas can provide the buff to each other, however). On application, Incited gives a temporary boost to movement speed, with an increased duration for every stack of Bloodrage converted to apply it; capping out at 55 seconds for 100 stacks of Bloodrage.
戦闘
The Carcharodontosaurus is a ferocious fighter comparable to the likes of the Giganotosaurus itself and caution is necessary when taking on one of these beasts.
In the wild, Carcharodontosaurus will mercilessly roam the lands, killing everything it sees. Its bite attack will apply the Shredding debuff which is indicated by a blue smoke effect. Once it scores a kill, it will enter a temporary Killing Frenzy, drastically increasing its already great movement speed.
Survivors utilizing tamed Carcharodontosaurus may use its Tail Whip attack which boasts great knockback to even the largest creatures. Additionally, tamed Carchardontosaurus will gain stacks of Bloodrage for each kill it gets, increasing its damage and health regeneration. Exercise caution!
テイム方法
The Carcharodontosaurus can only be tamed non-violently rather than through knockout methods. To tame such a magnificently strong creature, one must show trust that it is not food.
Because of its aggressive state, you need to trap the creature to be able to prevent it from running around and attacking anything else. Once trapped, kill nearby creatures and drag them close to it. Release the carcass near it and allow it to sniff and take a bite. Upon consumption, a blue HUD bar will appear near it, signaling how much trust it sees you as. Continue to bring carcasses until the HUD is fully filled (this is based off of drag weight of the creature), and then remove a trap from where it's trapped at and mount on it.
During this state, how long it will let you ride on it depends on how long "Friend Buff" is active from Carchardontosaurus (600 seconds); once it runs out, the creature can no longer be ridden. Kill as many creatures as you can with it during this time; kills will accumulate the actual taming progress based on the max health of the creature, and getting hurt will reduce the effectiveness. You will get booted off the back at certain intervals of taming (every 20% for a 150). If you find yourself unable to tame it before the buff runs out, bring it back to the trap, encase it again, and bring it more corpses once the taming runs out.
Be wary that it will still try to attack you even with a full Blue HUD until it is tamed.
実用性
- War Mount: On the surface, the Carcharodontosaurus seems like a moderately weaker version of the
 Giganotosaurus. However, clever survivors can make use of its mechanics to turn it into a rampaging monster if the circumstances are right. Firstly, its main bite attack will apply the Shredding debuff, which reduces the effects of healing on any creatures inflicted with it. This can serve as a great counter against self-healing creatures like
  Argentavis and
  Blood Crystal Wyvern as well as support healers like
  Daeodon or
  Snow Owl. Secondly, its tail whip attack boasts a very powerful knockback even against Giganotosaurus, allowing for great crowd control in certain environments. Thirdly, its roar ability provides a speed boost to any friendly tames at the cost of Bloodrage, making it great support for armies of slower dinos like
  Stegosaurus. Lastly, its Killing Frenzy and Bloodrage mechanics grant additional damage, health regeneration, and speed bonuses for every kill the Carcharodontosaurus gets. If taken against an injured tribe, it can quickly lead to a devastating snowball effect of one manages to score many kills with it. Everything listed paired with the remarkable maneuverability of the Carcharodontosaurus (especially for its size) makes it a great mount for tribe wars.
- World Boss Support: While too big to fit into traditional Boss Arenas, the Carcharodontosaurus can be a great mount choice against the world bosses of Extinction and Fjordur. With their Bloodrage and great maneuverability, they are excellent for dealing with minions such as the Corrupted Dinosaurs during the
 King Titan fight. However, it is advised to use them for this role only, as attempting to use them against the boss itself will result in low damage output due to the lack of Bloodrage.
- Orbital Supply Drop Defense: Arguably, the Carcharodontosaurus is the best creature to use to defend the higher tiers of
 Orbital Supply Drop on Extinction. Firstly, its great mobility allows for it to be easily piloted across the rough wasteland terrain. Secondly, its tail whip attack helps to stall creatures from reaching the OSD. Lastly, the sheer numbers of attacking Corrupted Dinosaurs will help ensure that the Carcharodontosaurus' Bloodrage will stay topped.
- Wild Ambush: During the taming process for the Carchardontosaurus, survivors will gain the ability to ride it temporarily. In this state, the Carcharodontosaurus retains its wild stats. This includes its great attacking power and monstrous 70,000 health. In a PVP setting, clever survivors can make use of this time to attack enemy tribes with it. However, eventually one of two scenarios will likely occur. Firstly, if the mounted survivor successfully kills enough to tame the Carcharodontosaurus, its attack and health will be reduced greatly. Secondly, if the mounted survivor dismounts, runs out of taming time, or is killed, the wild Carcharodontosaurus will proceed to attack everything in its vicinity. This may be a useful tactic if one manages to ride it into the middle of the enemy tribe's base.
採取
| 資源 | 効率 |
|---|---|
| ? |
変更履歴
| パッチ | 変更 |
|---|---|
| 352.6 | Carcharodontosaurus was added to the game. |
| 353.1 |
|
| 353.2 | Fixed Carcha disappearing on Genesis |
| 354.4 | Fixed Carcha losing taming affinity on SP restart |
| 355.16 | カルカロドントサウルスがギガノトサウルスの心臓をドロップするようになりました。 |
備考/トリビア
現実世界のカルカロドントサウルスに関する情報については、関連するウィキペディアの記事を参照してください。
- The Carcharodontosaurus was in both the Lost Island and Fjordur creature votes and came in second both times.
- The Carcharodontosaurus and Giganotosaurus are related with both being in the Carcharodontosauridae family.
- The Carcharodontosaurus will be the last creature added into ARK: Survival Evolved.[2]
- Carcharodontosaurus taming steps and behavior falls similar to several creatures:
- The requirement to feed it carcasses is similar to
 Fjordhawk.
 - The ability to temporarily mount it is similar (but not too much) to
 Equus,
  Voidwyrm and
  Andrewsarchus.
 - Its requirement to tame via combat and gaining trust is similar (but not too much) to
 Amargasaurus's.
 - Its tail swing ability is similar to
 Reaper King's, albeit faster at a smaller range.
- The requirement to feed it carcasses is similar to
- On killing an enemy, the Carcha gains access to two status effects: Bloodrage and Killing Frenzy. Killing Frenzy lasts 10 seconds, refreshing the 10 second timer for every kill, and provides two boosts; buffing the Carcha's movement speed and making it immune to stuns for the duration. Bloodrage similarly provides two buffs; boosting the Carcha's healing rate and melee damage. Unlike Killing Frenzy, Bloodrage is not locked to a timer and grows progressively stronger and longer-lasting; stacking on itself up to 100 times. Bloodrage degrades slowly at first, but if the Carcha goes so long without a kill, it begins to degrade faster until either 0 stacks are reached or the effect is refreshed by a new kill. Some stronger enemies such as Gigas and Rock Elementals are worth more stacks of Bloodrage per kill than other enemies. The Carcha's base damage at 0/100 stacks of Bloodrage is roughly half that of a Giga's, roughly equal to a Giga's at 50/100 stacks of Bloodrage, and roughly 50% higher than a Giga's at 100/100 stacks of Bloodrage. The healing provided by Bloodrage, when at maximum stacks, is powerful enough to completely negate the health lost from dangerous bleeding status effects such as Gnashed, and allows the Carcha to tank incredible amounts of damage even with a primitive quality saddle. This increased healing however rapidly drains the Carcha's food stat, which can result in the Starvation status effect, though this can easily be countered by force-feeding the Carcha meat harvested from its kills; as just one piece of Raw Meat restores 100 points of food for a Carcha. When the Carcha roars, all stacks of Bloodrage it has are consumed to provide the Incited buff to all nearby allies (excluding the Carcha itself), which boosts movement speed. The more stacks of Bloodrage the Carcha has, the longer Incited lasts when roaring to activate, up to 55 seconds at 100 stacks. If Bloodrage is not active when roaring, the Carcha's roar is merely cosmetic; granting no Incited buff to allies.
ギャラリー
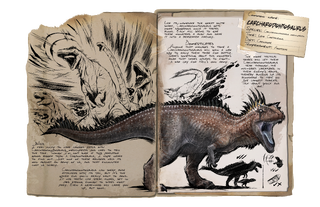
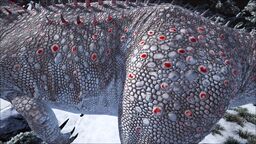
Carcharodontosaurus Keyart[2]
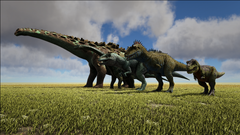
Size comparison with Rex, Giganotosaurus, Bronto and Titanosaur
(It's similar size to Giganotosaurus, with Giga being slightly taller than Carcha)
参照資料
| 生物 |
|---|
- スクリプトエラーがあるページ
- 恐竜
- 肉食
- 攻撃的な生物
- V352にリリースされた生物
- 2022にリリースされた生物
- V953にXboxでリリースされた生物
- V708にリリースされた生物
- Switchでは利用不可
- Mobileでは利用不可
- テイムできる生物
- 騎乗できる生物
- ブリーディングできる生物
- 卵を産む生物
- 孵化
- 生物
- 欠けているJA翻訳








![Carcharodontosaurus Keyart[2]](https://ark.wiki.gg/images/thumb/5/5a/Carcharodontosaurus_Artwork.jpg/240px-Carcharodontosaurus_Artwork.jpg)
