Temple Of The Forgotten (Lost Island)
| This article is about content exclusive to the DLC: Lost Island |
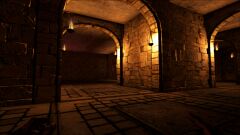
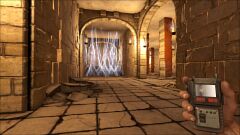
The Temple Of The Forgotten is a region in the Lost Island DLC.
Overview
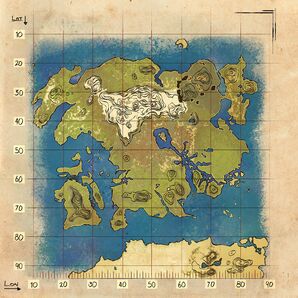
The entrance to the Temple Of The Forgotten, AKA The Labyrinth, can be found in the cliff face under a ledge at 92.2 : 80.5, it is inaccessible by foot so you will need to have a flier (Sinomacrops or Pteranodon is recommended as an Argentavis is too large to fit through the gap).
You could use a Grapple Hook or a glide suit if you are skilled enough, alternatively you could attempt to use a Climbing Pick, but flying is far simpler.
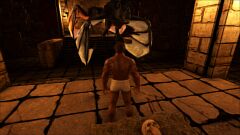
There are a few dangers inside the temple, but it can be successfully run completely naked if you are careful enough not to trigger any traps.
If you are prone to an overabundance of caution, bring a gas mask to protect yourself from the gas grenades, and cryo-pod in a Thylacoleo to deal with the creatures that spawn and to tank the dart traps. You may also want to bring some antidote in case an Onyc infects you with Mega Rabies.
Walkthrough
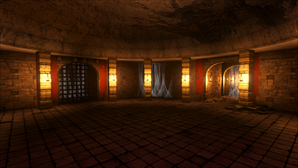
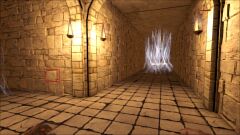
The entry hall opens into a chamber with two passages, the left passage is where you will eventually exit the Labyrinth from, the entrance is to the right.
Once in the right room there is a hidden button on the far side of the wall which will open up a door in the wall.
First Floor:
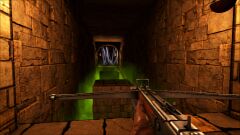
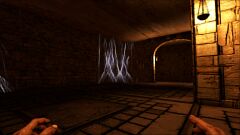
Follow the path behind the door until you reach a jumping section with green gas below, you can easily grapple over the entire obstacle, or if you are skilled enough you can simply jump over the pillars. Don't worry about falling in, you will start to take damage but only 4 hit points per second. Easily enough time to run to the far end and escape. (Gas masks or SCUBA gear to not protect you from this)
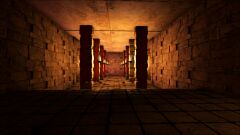
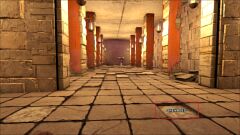
Once you are over and around the corner you will find the first pillared hallway, the passage left will lead you directly to the next floor (go straight ahead then left at the end), it is recommended you take the right path as this will lead you past all three potential loot drop locations (There are three potential spots, but only one will be active at a time). (Item ID SupplyCrate_Cave_QualityTier4_LostIsland_C)
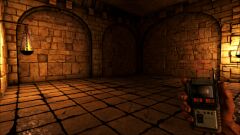
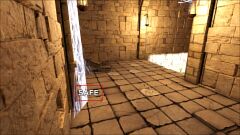
This floor has very large pressure plates in the middle of the hallways, they are very easy to avoid by simply walking along the edge of the hallways.
Second Floor:
The second floor is completely empty in terms of loot drops, but it does have a dart traps that are triggered by going through the hallways rather than stepping on a pressure plate. However if you walk directly next to the wall where the darts fire from, they do not get triggered.
Once you're down the ramp you will want to turn left and hug the left wall until you reach the stairs at the end of this floor, this is the only route with zero dart traps, although if you have even primitive flak armour it will protect you from these tranquiliser darts if you fail to sneak past them.
Third Floor:
This is where the real dungeon begins.
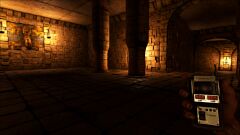
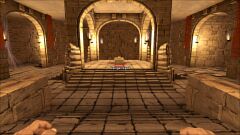
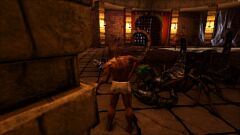
Once you come down the stairs you will enter a room with a sacrificial altar in the middle. (There is a pressure plate by the skeleton's head that will spawn Onyc and Arthropluera on the stairs you just came down.) Again the path will split into left and right.
You will want take the right path. You will pass two dart traps (hug the left wall to avoid them) and another gas pit jumping puzzle with a spike platform in the middle (will hit you for around 20 damage if you get stabbed, and 4 damage per second from the gas if you fall in). This entire passage can be grappled past.
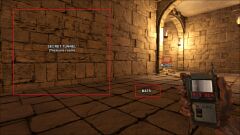
On the other side of the passage you will find the second pillar room with a loot drop in it (Item ID SupplyCrate_Cave_QualityTier4_LostIsland_C) , be careful of the pressure plate by the entrance that drops explosive grenades. Get this drop and take the left passage at the end of the hallway, (keep note of the wall on the left, you're about to go through it) hug the right wall to avoid the pressure plate that spawns Onyc. when you go around the corner, keep an eye out for a brick with a bloody hand print on it, that is the button to open the hidden loot crate room.
Push the button and backtrack into room that just opened up and grab the loot (Item ID SupplyCrate_Cave_QualityTier3_ScorchedEarth_C). If the door closes before you get out again don't panic, there's another button in the corner to the right of the door.
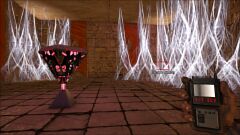
Backtrack through into the pillar room (grab the loot crate if it has respawned already), and continue through the other side (turn right instead of the left to the secret room), hug the right wall to avoid the dart traps until you reach the entryway into the ceremonial chamber (This can also be accessed from turning left at the altar room, but this path is more streamlined), grab the loot crate (Item ID SupplyCrate_IceCaveTier3_C) and don't trigger the bug spawn pressure plate by the clay pot. Come back out and continue down the same hallway, hugging the right wall to avoid the next two dart traps.
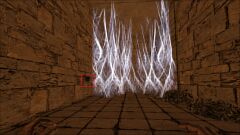
You will come across a staircase behind some cobwebs and the third pillar room on the right, grab the yellow drop in the pillar room and go all the way up the stairs to escape. (The button to open the door at the end is in the middle of the wall to the right of the door at the end of the passage.)
Hit the button, go through the door and you'll be in the entry hall with all of your amazing loot.
Dangers
- Tranquilising dart traps
- Explosive grenade traps
- Gas Grenade traps
- Traps that spawn cave creatures (untameable, but standard spawn levels)
- Pillar jumps over pits of toxic gas
- Spike trap on pillars
Suggested Equipment
 Climbing Pick
 Glider Suit
 Torch
Torch Medical Brew
 Lesser Antidote
 Metal Shield
 Flamethrower
 Water
Water Flak Armor
 Food
Food- A Sinomacrops or Grappling Hooks to skip dangerous jumping traps. Keep in mind it is possible to complete a full loot run with no equipment at all as long as you can get to the entrance.
Creatures
All creature in this dungeon spawn from pressure plate traps, and are untameable.
Notes
There is no limit to the number of times you can enter the Labyrinth, so if you die inside, don't worry, if you can get back quick enough you will be fine.

